Gratitude is the best attitude.
Hey Loves! I hope you’re doing well, today I’m going to show how I edit my blog pictures using Photoshop and an alternative option for those who don’t have it at the end of the post. If you’re interested then keep on reading!
Related: How to take good pictures with your iPhone
OPEN THE IMAGE
Once you’ve opened Photoshop, open the image you’re going to edit (File > Open).
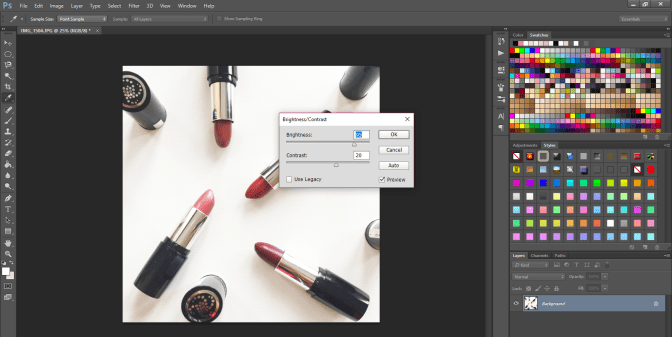
BRIGHTNESS & CONTRAST
The first thing I do is edit the brightness and contrast level of the picture (Image > Adjustments > Brightness/Contrast), I don’t have a specific number – I just choose something that I think looks the best, I don’t want the picture to look too bright or under exposed.
LEVELS
This one is optional but for some pictures, it can be a crucial part depending on the tone of the picture…
View original post 210 more words
